


Audio/Video transcription can be a very arduous task. It takes around 4-6 hours to transcribe one hour of audio. There are several tools however which can make it easier—our Editor is one such tool. It presents the audio and the transcript document together in a single interface to expedite the process. The following is a step-by-step guide on how to transcribe a file using our Editor.
Step 1: Upload
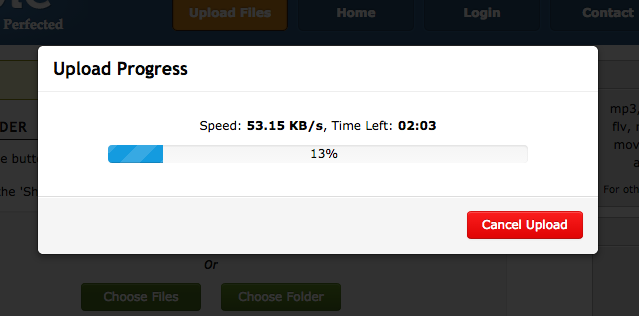
As a first step, the audio/video file has to be uploaded to our server where it will be processed and converted to a mp3 file. We support a variety of formats. Generally, the video files are large and you can save some time if you convert it to an audio file. We also support importing file by URL or via Dropbox. You can even import a YouTube video for transcription.
Step 2: Open the Editor
Once the file has been uploaded, you can then launch the editor from the Transcribe menu option.

The Editor will open in a new window and automatically be sized to fit your full screen. This way you’ll have the maximum amount of space for entering the transcript as well as cut out the distractions.
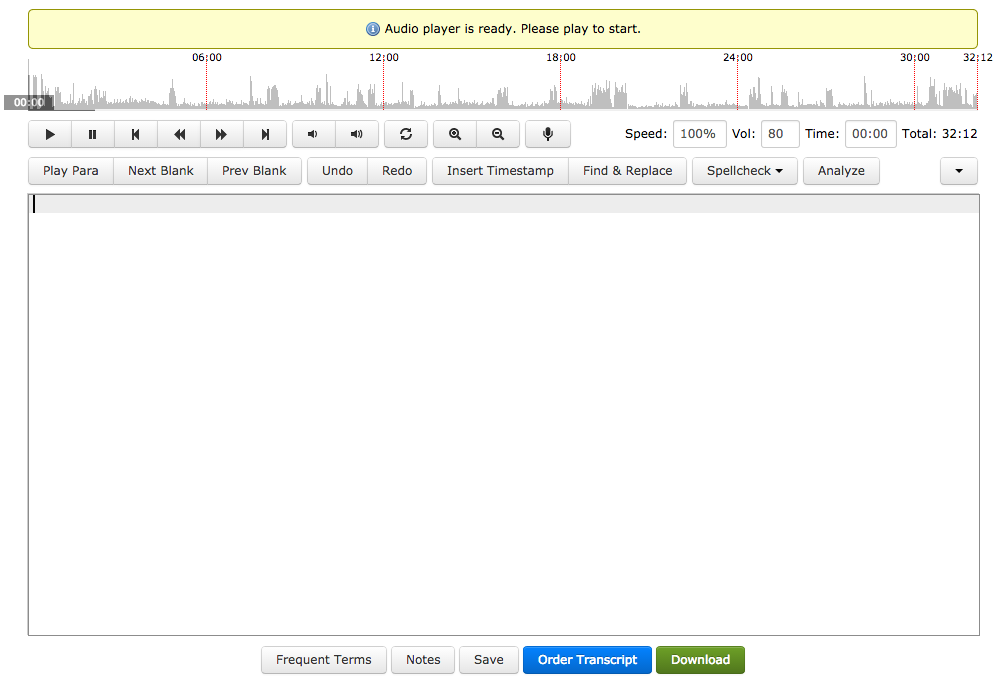
You may have to wait for some time for the mp3 conversion to complete.
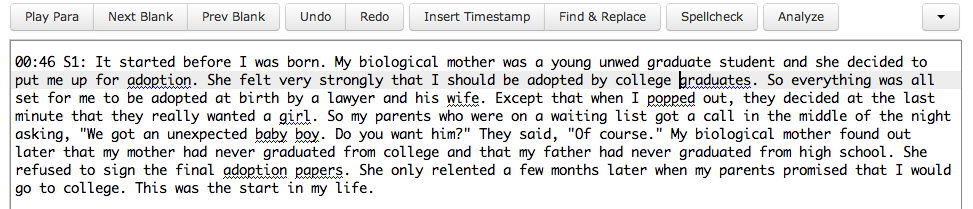
Step 3: Play and Type
The next step is to play the audio file. There are buttons available on the Editor for it, but a more efficient way is to use the shortcuts; F10 for play/pause, F7 for rewinding and F9 for forwarding. All these shortcuts can be changed to suit your preferences. You can assign any key combination to the shortcuts and use it as you like. Play for 5 seconds and then pause and then type whatever you heard in the text box. Repeat the process for the rest of the file.
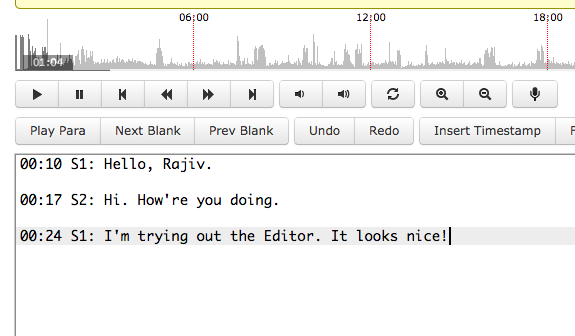
We recommend that you add timestamps at the start of each paragraph so that it is easier to jump to that paragraph later on. Press F12 to add the timestamp.
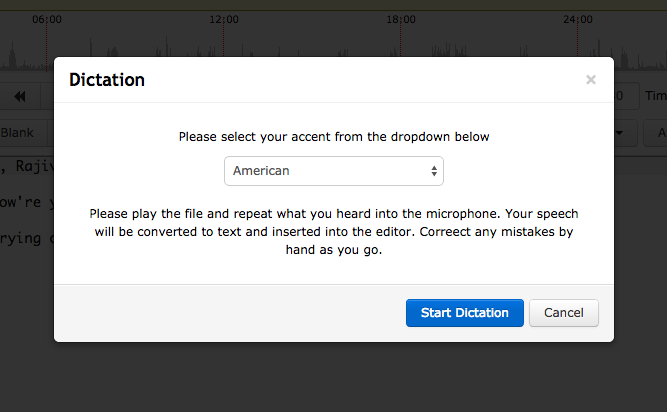
You can also use the dictate functionality in the Editor. Dictating what you hear is much faster than typing it out and saves valuable time and effort. This feature is supported only on Google Chrome currently.
Step 4: Analyze
Once the transcript is complete, click on the Analyze button. The analysis will highlight the most uncommon terms and phrases in the transcript. These are the parts that need a review since they might have mistakes. Just scan through the underlined parts and play the paragraph if required.
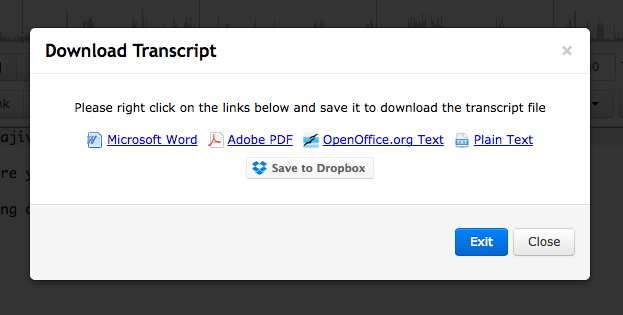
Step 5: Download
Click on the “Download” button at the bottom. The transcript will be converted to a Word Document and you can then save it locally. You can also save it to Dropbox if you like. PDF, ODT, and TXT formats are also available for download.
Remember that you can always order the transcript instead of transcribing it yourself. Try it out once; we assure you that you will not be disappointed with the results!
This is ingenious! I really like this. I’ll be sure to share with podcasters that I know.