How To Record And Transcribe Lectures In Four Easy Steps
“Remain firm about your goals, but flexible about your methods.” – William A. Donohue Virtual learning is a new experience for most of us. While some are to resume face-to-face classes, many aren’t anticipating this change anytime soon. How is it working for you? Perhaps, you’re a teacher who’s looking to find ways to make […]
“Remain firm about your goals, but flexible about your methods.” – William A. Donohue
Virtual learning is a new experience for most of us.
While some are to resume face-to-face classes, many aren’t anticipating this change anytime soon.
How is it working for you?
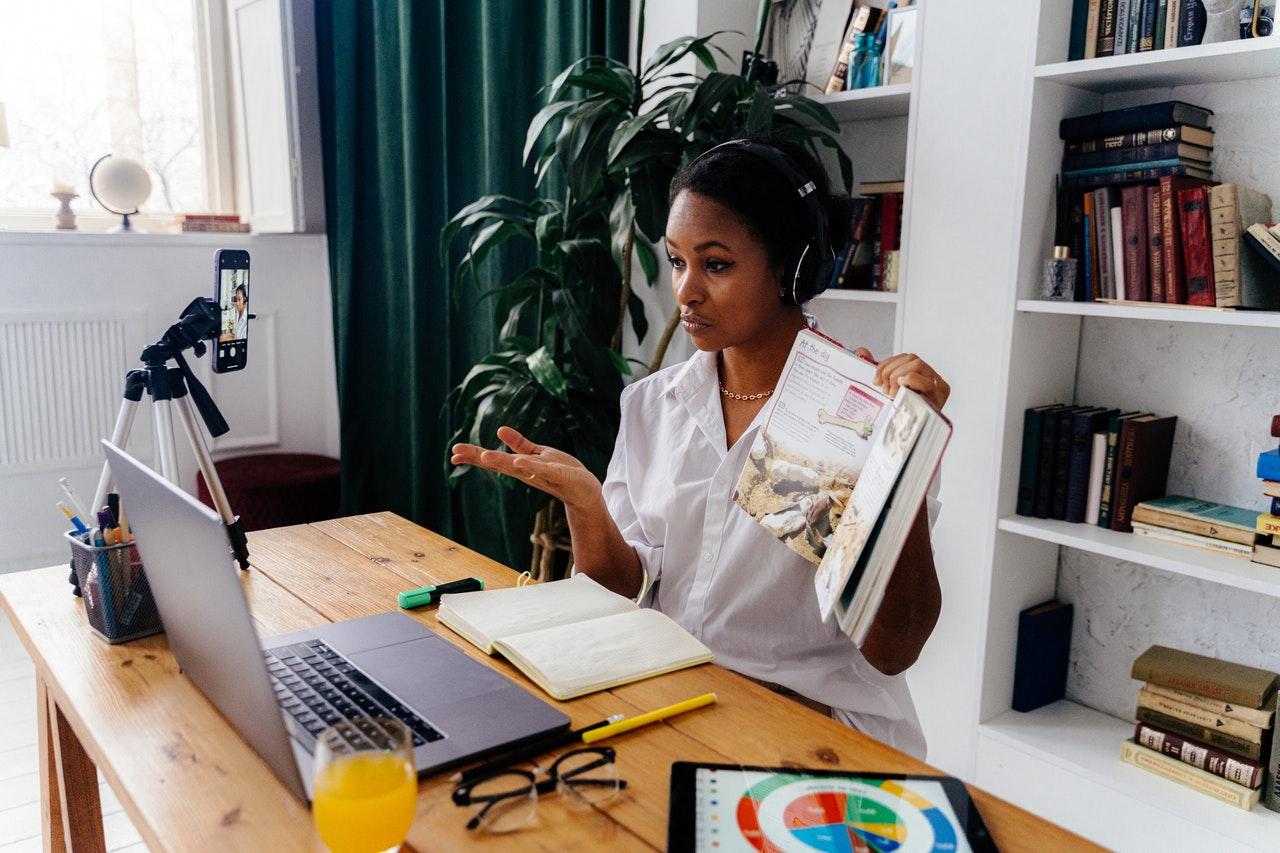
Perhaps, you’re a teacher who’s looking to find ways to make the learning experience engaging for your students. Did you know that recording your lectures will help make your lesson accessible to your class?
Are you a student who’s trying to excel in your studies and looking for ways for you to learn at your own pace?
Using technology and your resourcefulness, you can record and transcribe the lectures you conduct or attend.
Keep on reading as we share with you the best practices for recording and transcribing a lecture.
Request Permission To Record
Some professors do not allow their lectures to be recorded as they consider this to be intellectual property.
If your university has any regulations about recording lectures, it would be a good idea to check them out.
If there are no policies, it’s best to consult with each professor to get their permission.
Do you have a disability such as hard of hearing? You can mention this to your professor, as this will serve as a good reason why you want to record the lecture.
As a professor, you can let your class know that you will record your lecture. This will allow your students to focus on the discussion with the confidence that they will have a chance to review the lesson later.
Get The Right Recording Equipment
The latest smartphones and laptops usually come with microphones and recording features. However, it’s not always guaranteed that it will produce excellent sound quality.
If you’re recording on your smartphone or laptop, you should invest in an external microphone. Alternatively, you can use a digital recorder.
To make the most out of the recording, it will heavily rely on quality audio. When your recording is clear, it’s easily understandable by your class, and transcribing it later will be easier.
Before you start recording, check if your microphone produces good sound quality. Find out how close you need to be to the recording equipment to capture a high-quality recording.
Make sure that your equipment is fully charged and has enough storage space to record an entire lecture.
Choosing a Recording Tool or Software
Once you have tested the equipment, you will need to decide how you will be recording the lecture.
Zoom
Most schools will use learning management software to conduct and publish their online lectures.
There’s Google Classroom, Microsoft Teams, and you’ve likely used Zoom for communication.
Compared to other video conferencing platforms, Zoom gives control to the host when recording.
In Zoom, only the host can create a “Local Recording.” To record the session without waiting for your professor’s file, you will need to ask the host to grant your permission.
While Zoom automatically opens the folder containing the audio file, it is ideal to know where it is stored to retrieve it whenever you need to.
Google Docs
You can transcribe any audio into text with Google Docs free service, whether it’s a lecture or random thoughts that you want to keep track of.
Think of it as having your personal secretary.
If you have a Google account, you should be able to access Google Docs. Under Tools, select “Voice Typing.” Google will then create text based on your audio.
The downside of relying on this feature is the accuracy and the lack of a seamless experience. You will need to edit the transcript as it’s prone to errors. Plus, you’ll have to adjust how you speak, monitoring if Docs is catching up.
There is a possibility that the voice typing feature will stop working if it cannot capture your voice, such as when you are too far away from the microphone or if the environment is too noisy.
Smartphone Audio Recording Apps
Most smartphones come with a recording feature, and you may opt to download several voice-to-text apps.
When looking for voice-to-text apps, consider how accurate they will transcribe your audio.
Your smartphone allows you to speak closer to the microphone than you can on your laptop, which improves the quality of recordings compared to Google Docs.
On the other hand, using an external microphone for your smartphone will significantly improve your audio quality.
Transcribe Your Lecture
After you record, it’s time to determine who will transcribe the audio file.
Will you do it by yourself, or would you use a professional transcription service?
Generally, transcribing large files may take longer than you expect. As you may have limited time to attend lectures and develop lesson plans, you may hire a transcription service to do the work for you.
Scribie offers automatic and manual transcription services.
Manual transcriptions are typically completed within 36 hours. Through Scribie’s four-step process, we guarantee a high-quality transcript.
If you need the transcripts as soon as possible, automatic transcription might be a better alternative. With our 30-minute turnaround time, you can review your transcripts and move on to your next task.
Over To You
Virtual education has become the norm in many schools, and while it is not without its challenges, it still has its advantages.
Taking notes, recording, and creating transcripts of online courses and meetings is now easier than ever.
With these tips, you can ensure that you get the most out of recording your lessons.
You can rely on Scribie for accurate transcripts that will enhance your online learning experience.
We will handle the academic transcription so that you can focus on other important tasks.
Simply record your lecture, and we’ll take care of the rest. Have you recently recorded a lecture? Upload your file now.
Comments (0)
No comments yet. Be the first to share your thoughts!